
I’m pretty pleased with this one! I know I say that about all of my makes… I made this in something of a fever at about midnight one weekend. I wasn’t ready for bed y’all! Some go clubbing, I go sewing. Both equally valid btw, no judgement here.
Anyway, my partner had a big clear out and I grabbed this top because I love me some monochrome stripes. My thought from the beginning was to replicate a top I already owned, with some improvements. I have this turtleneck crop top, but it irritates me that I always have to wear a tank top underneath. I’m not going to wear it as a crop top, it’s long sleeved. My tummy gets just as cold as my arms people!
This is a pretty rough and ready ‘tutorial’ coming up here- remember how I said I made this at midnight?
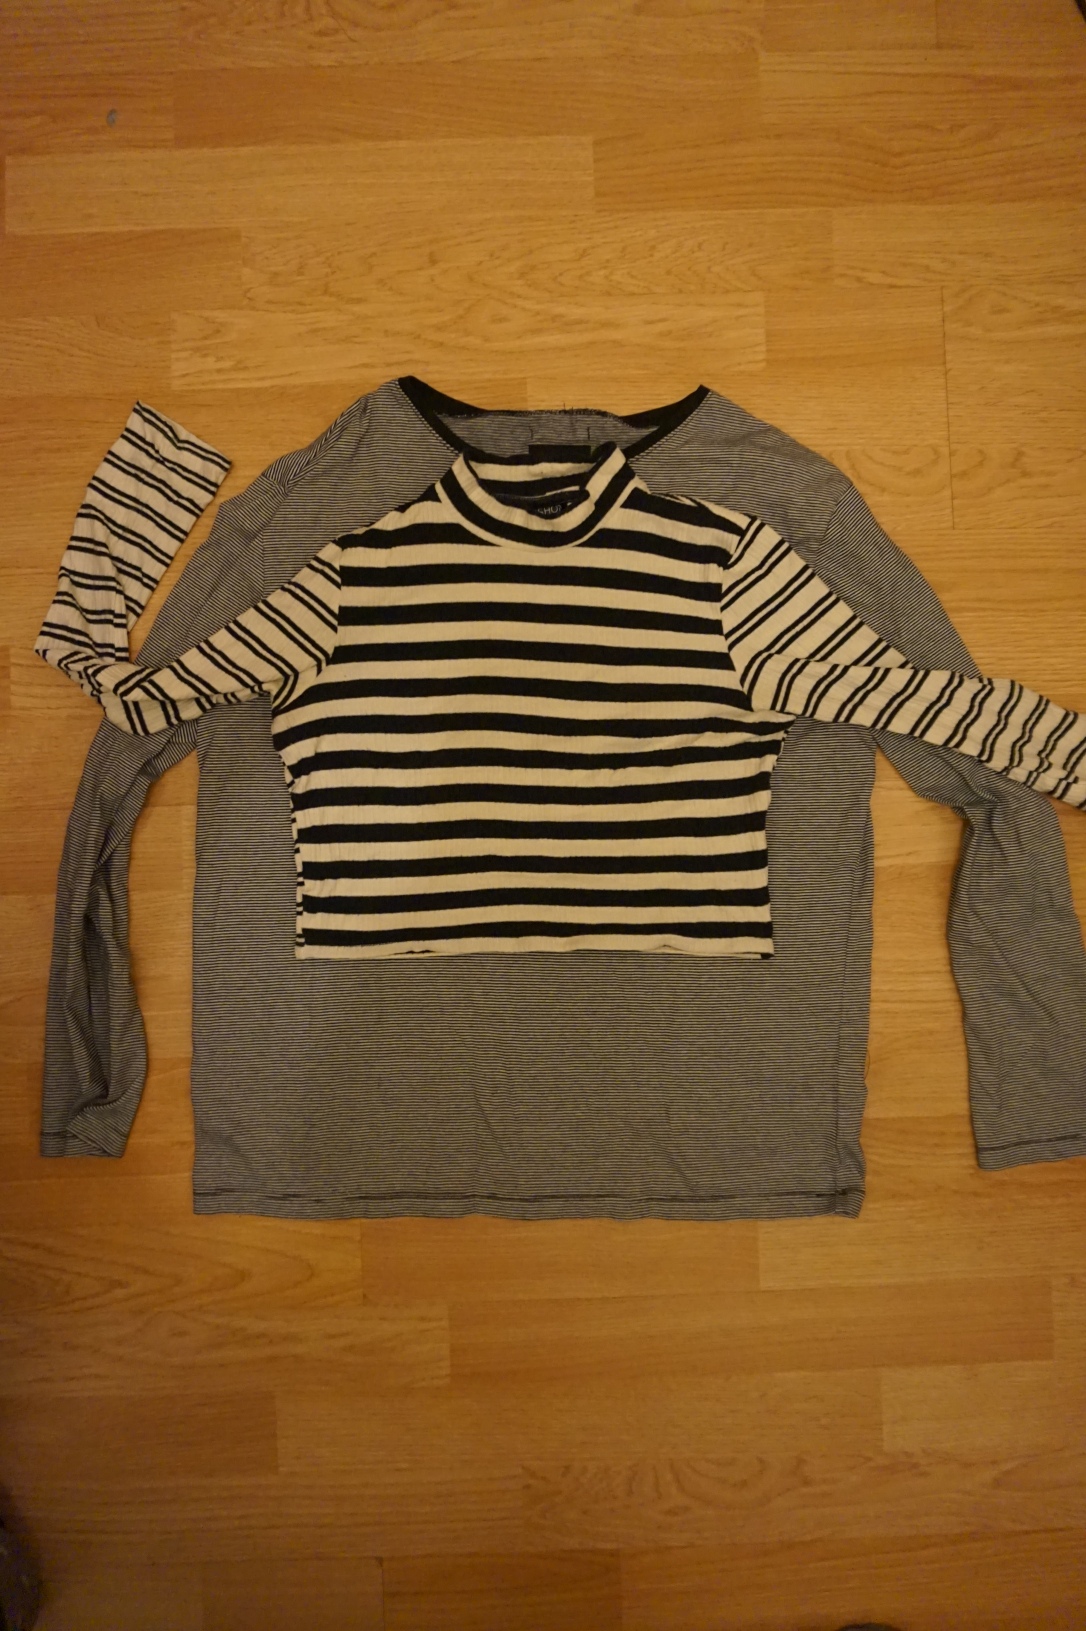
Lay your top over the top to be refashioned. Draw around, adding seam allowance, with a fabric pen.
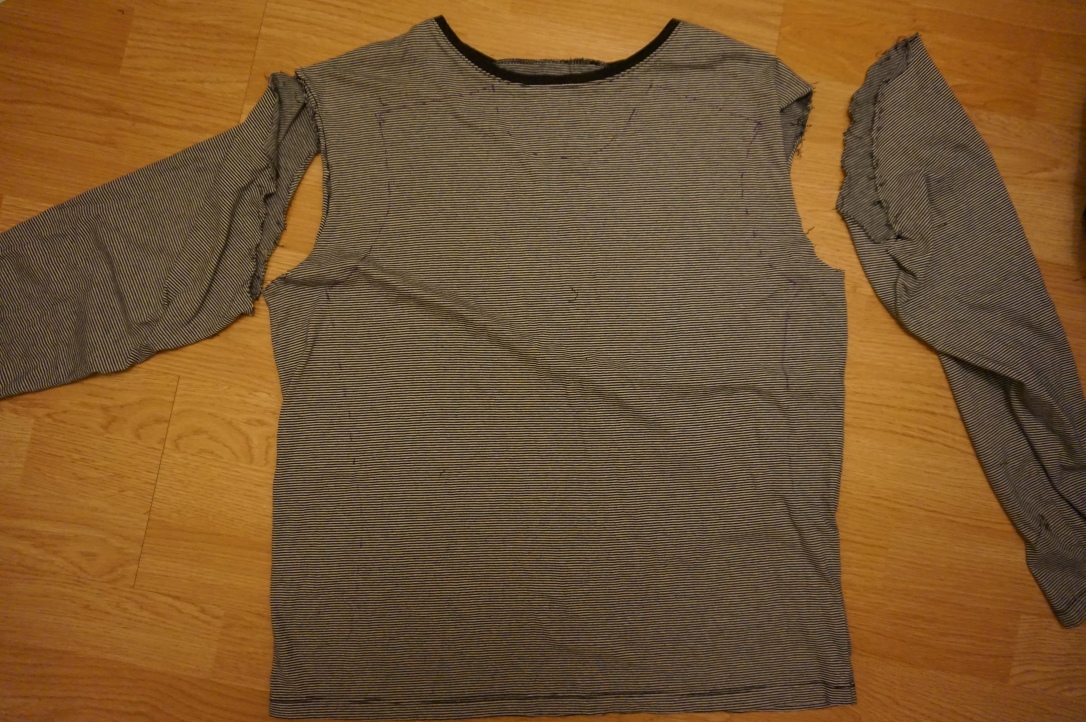
Unpick the sleeves at the shoulder sleeves and down to the cuff.
I then cut around the top pattern I had drawn onto the top, having tried the top on to see if the lines seem about right. Remember that the shapes for the fronts and backs of the armholes and neck hole will be different.
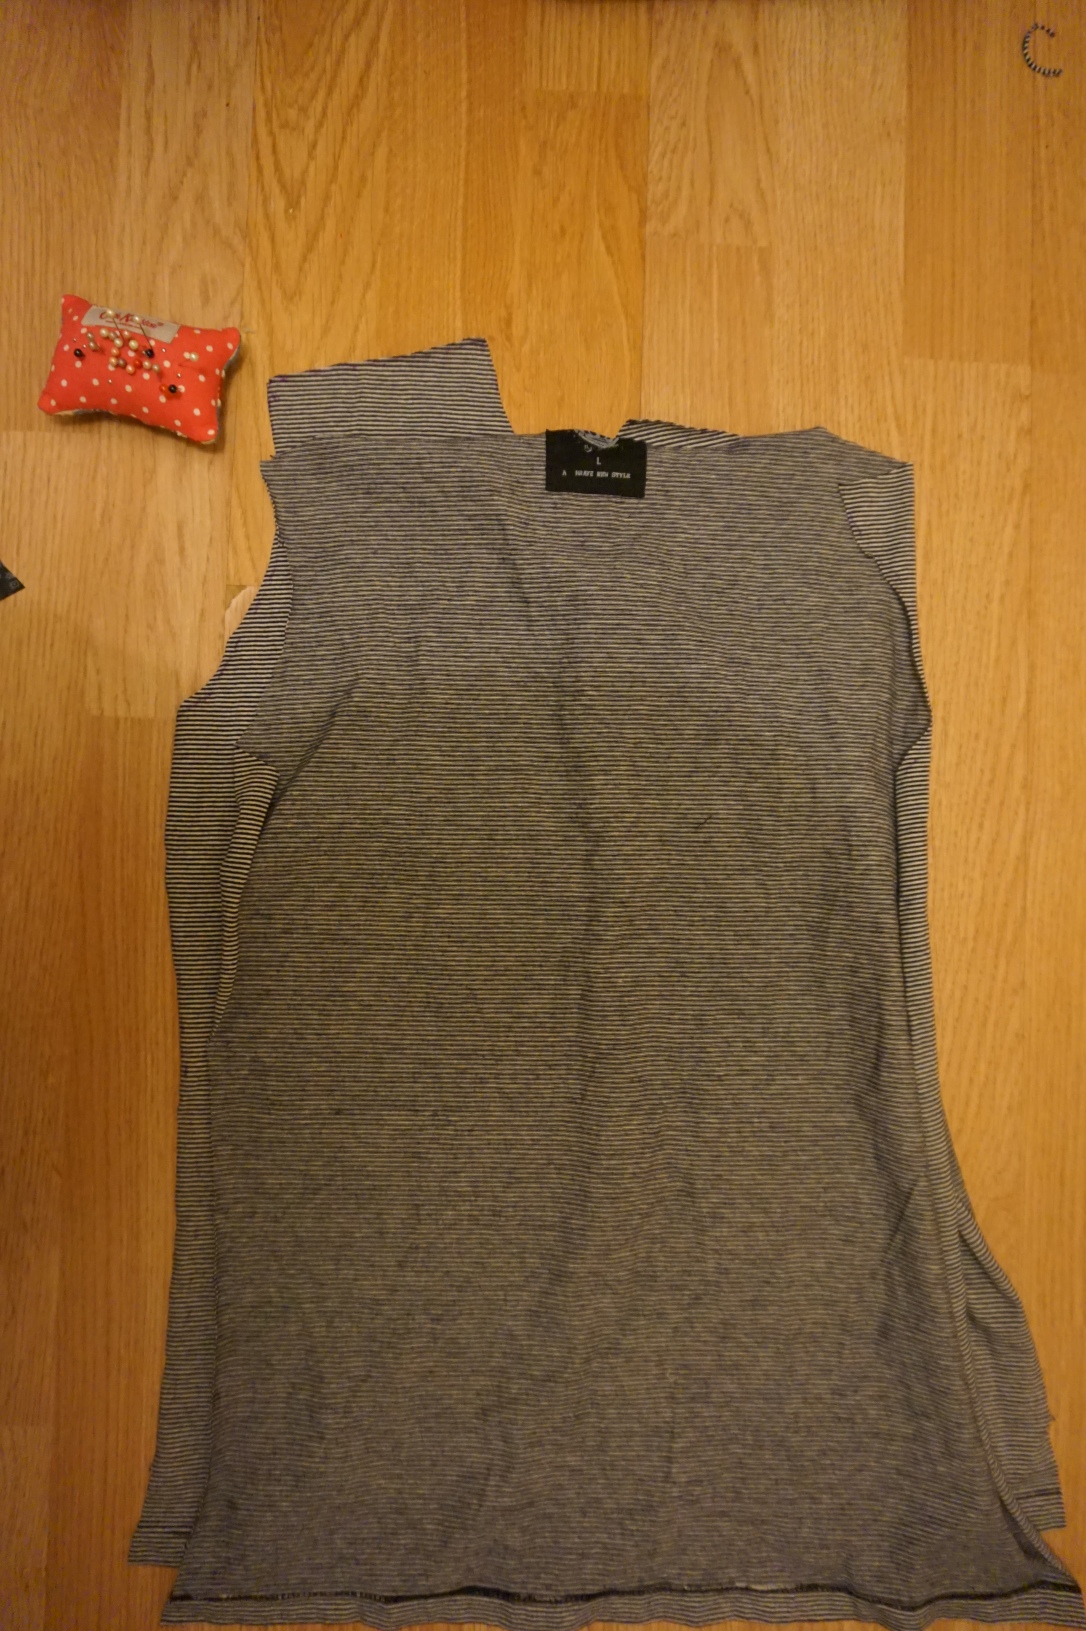
Sew the shoulder seams together, right sides together. All of my seams were sewn with a zigzag stitch. I like how I cut through the label as if it were the fabric, it means I have a cool half label reminding which bit is the back. I also like the idea that someone will find this top in years to come and be super confused about this top Next made.
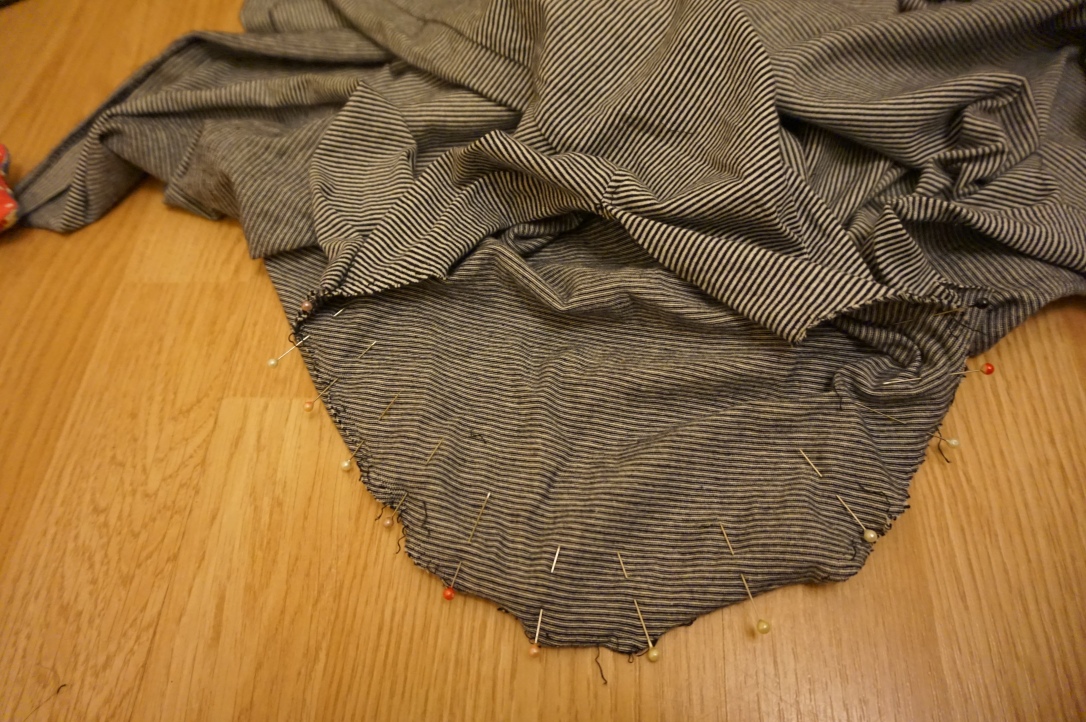
Open up the top right side up, and pin the sleeves to the armholes. By doing it now you can shape the sleeve to fit around the armhole without having to work out how to cut them. It’s a much more forgiving order than constructing once the sides are attached. Just be careful to not stretch the fabrics as you do this.

Fold the sides and sleeves to right sides together, and sew in one long line. Here you’ll catch any extra fabric on the sleeves in the seam. Don’t forget to trim this down after.
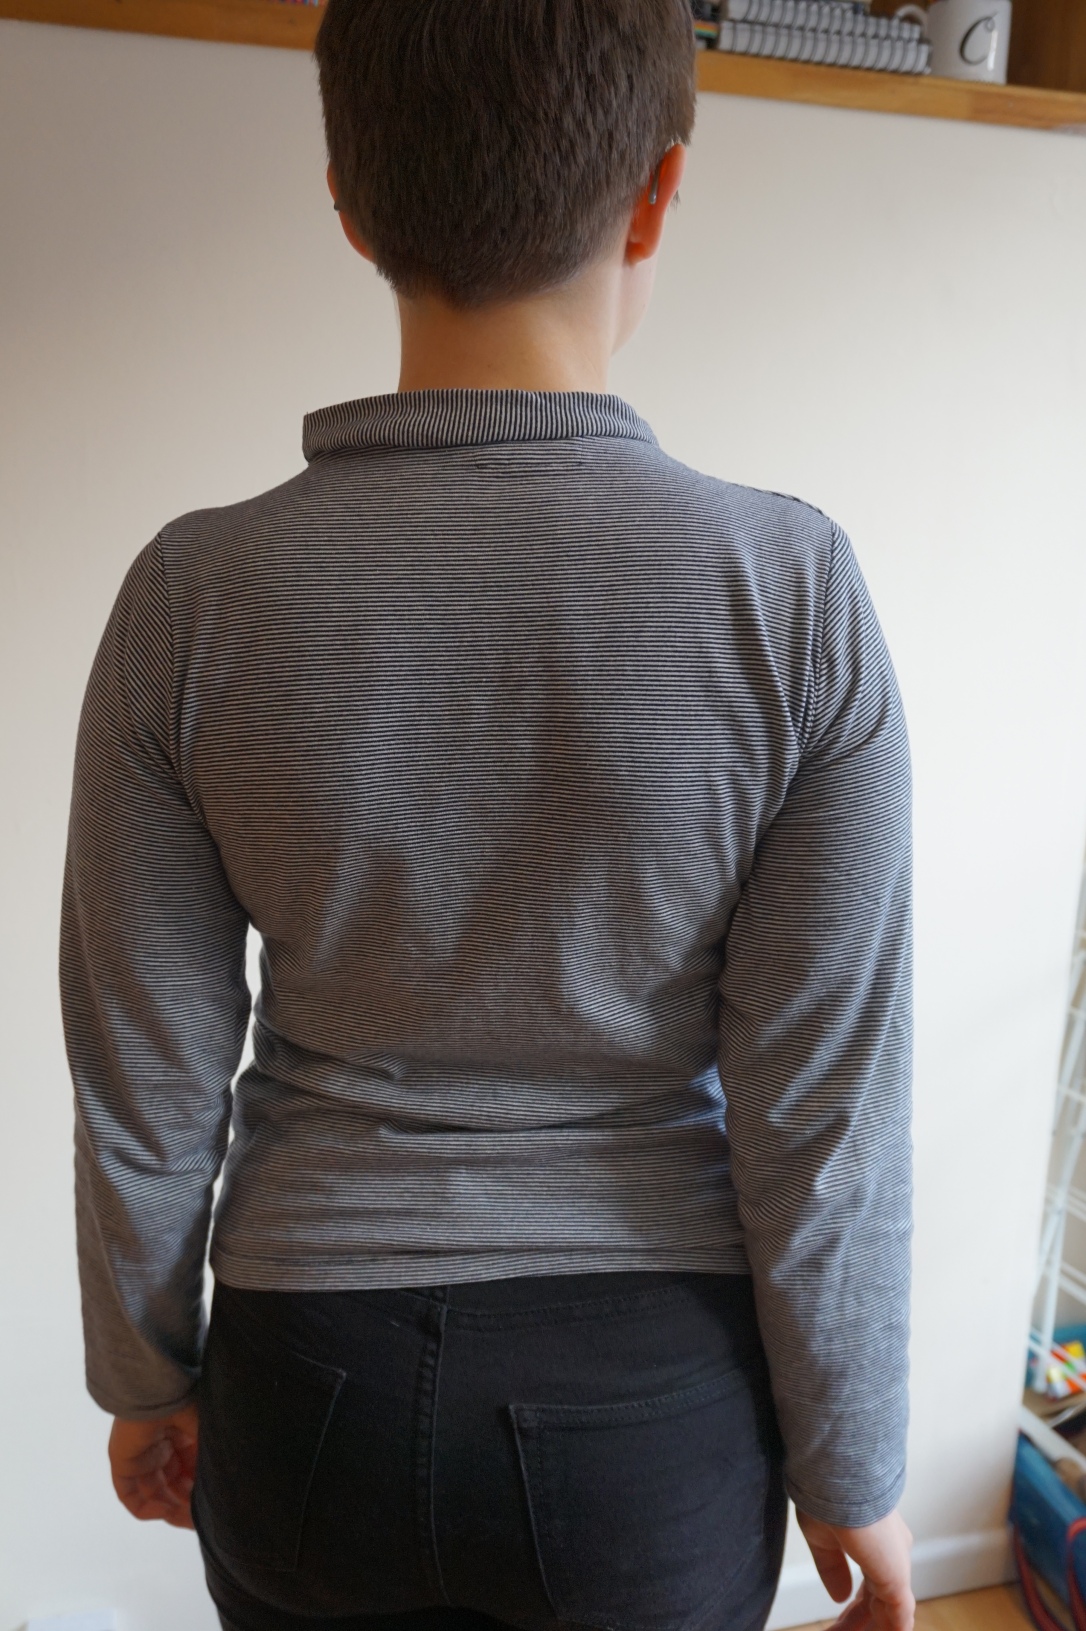
Now, for the collar. I basically just sewed two of the side pieces I had left from taking in the top, sewed them together to make a long strip, and used that. Be a better person than me, and make sure the rectangle you’ve made is even. I ended up with a wonky collar. It’s fine, I evened it up enough so you largely can’t notice, but I believe you can do better. I measured around my neck how big the collar should be to look deliberate, but can also fit over my head. I then basically followed this tutorial for the neck which explains it better than I probably could-
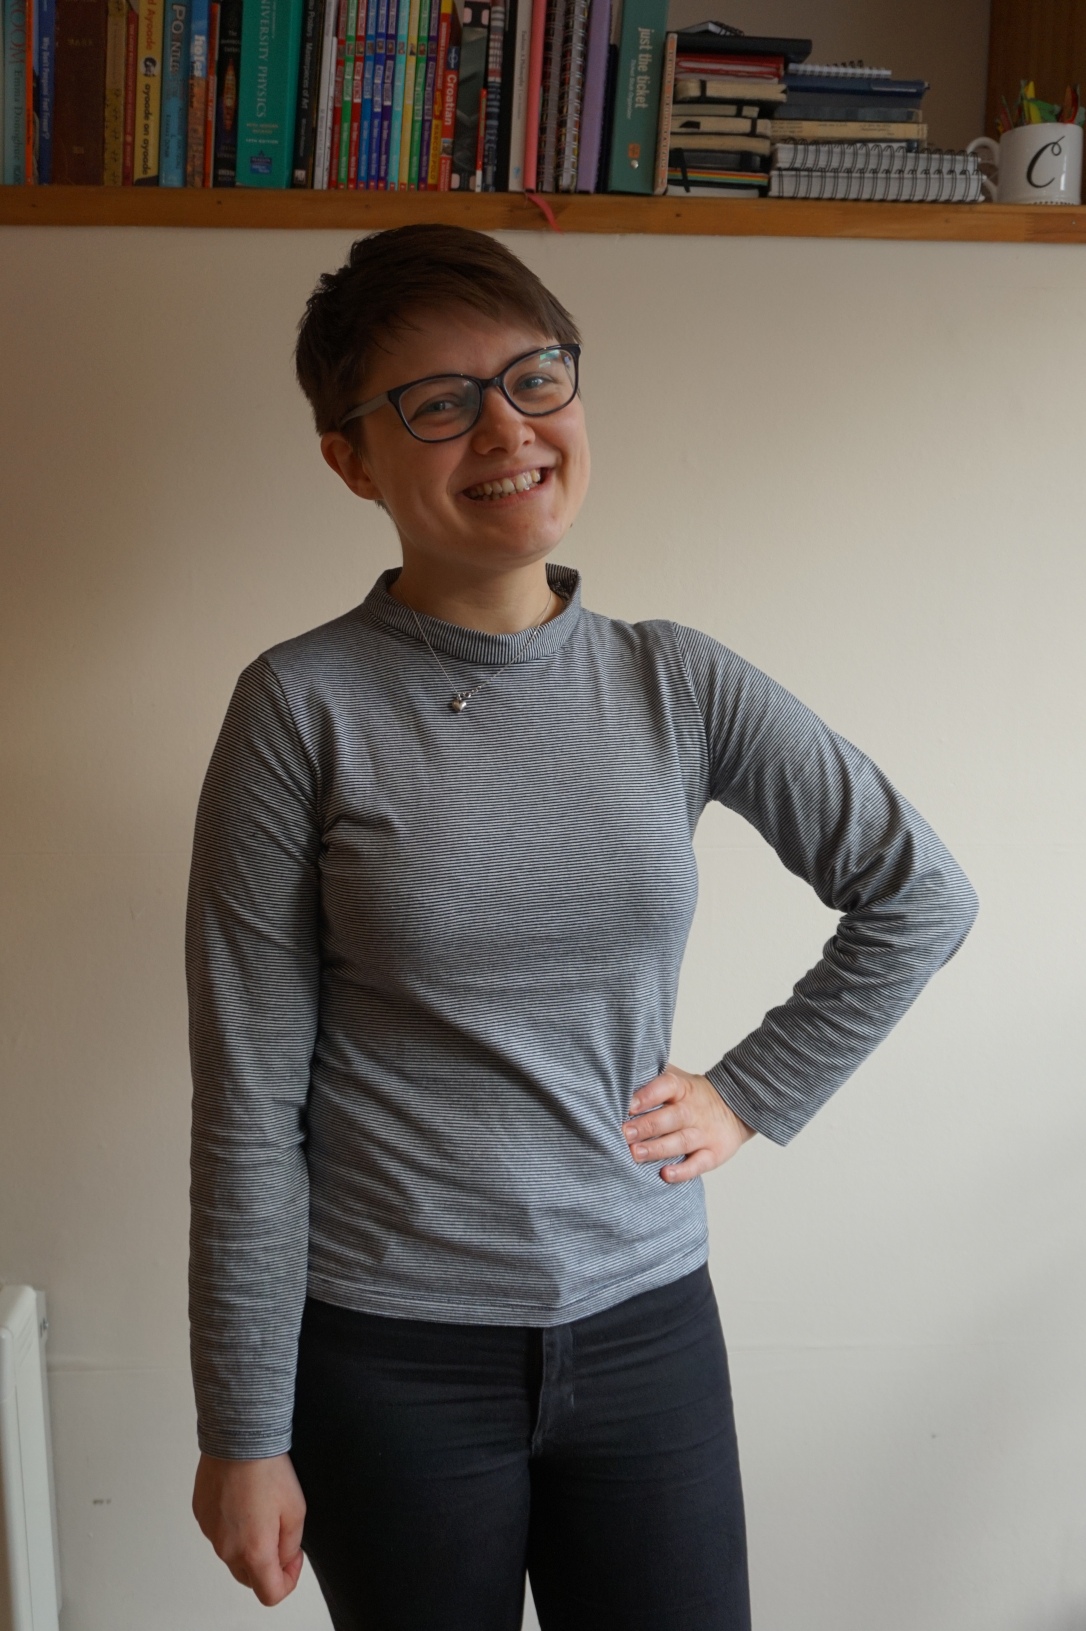
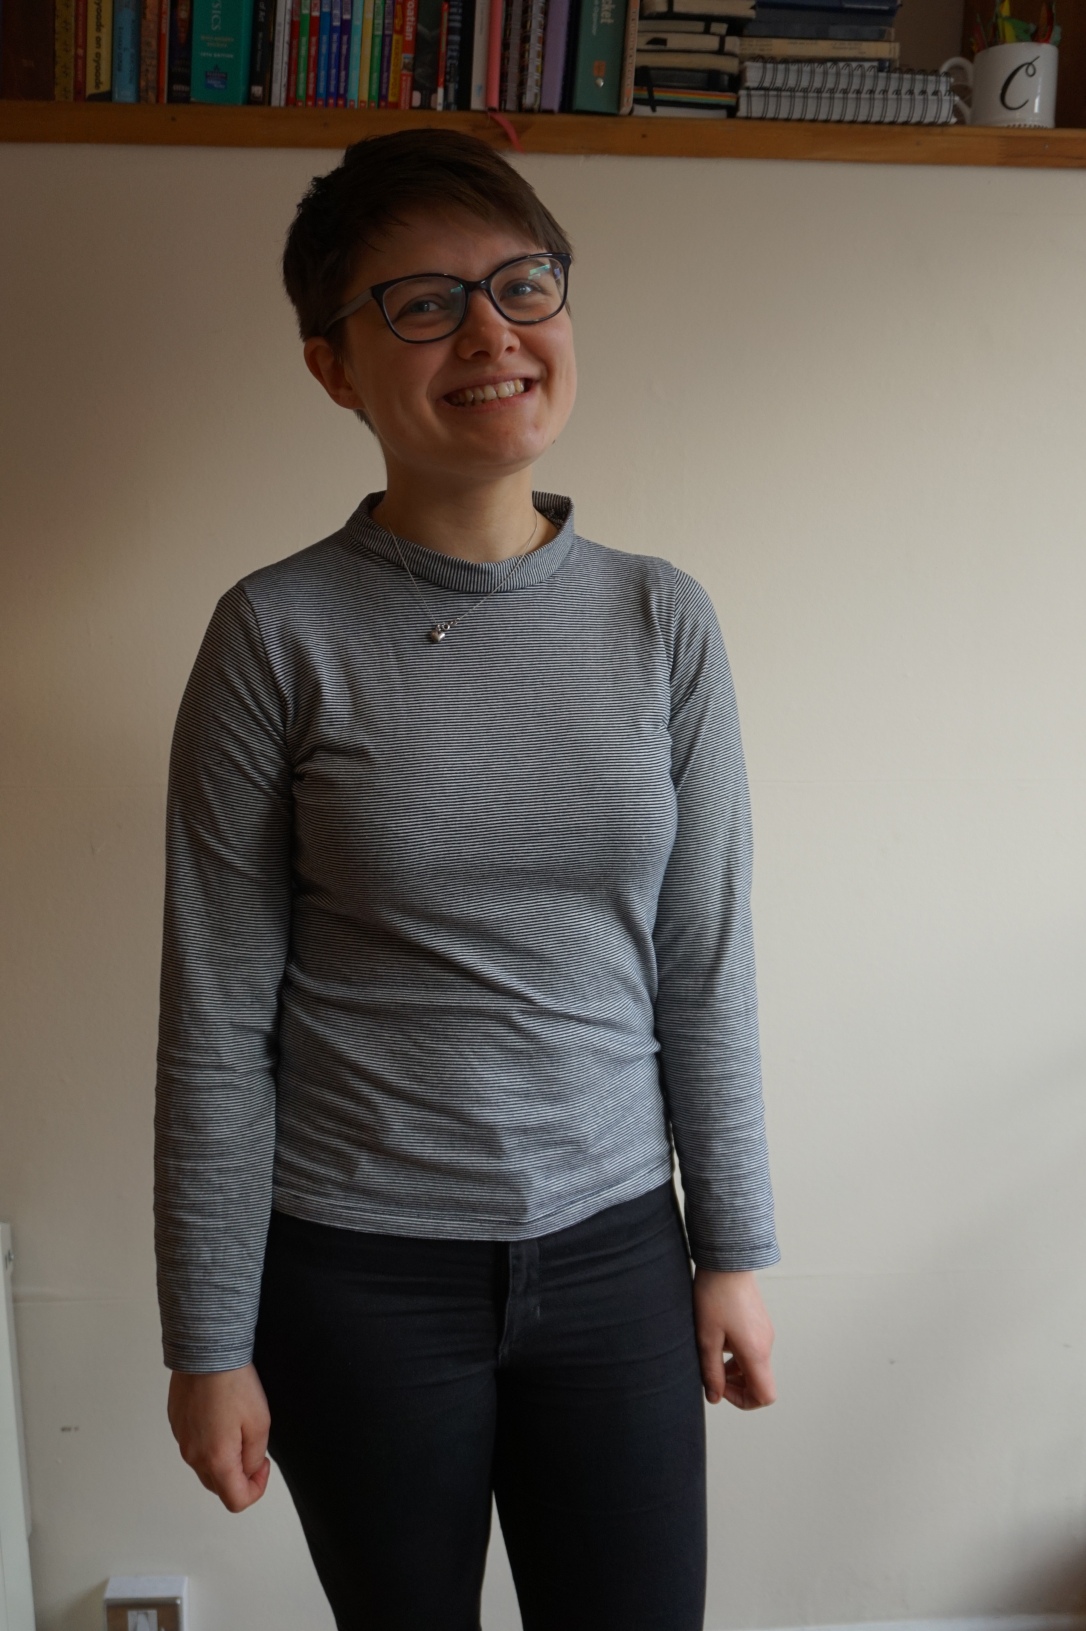
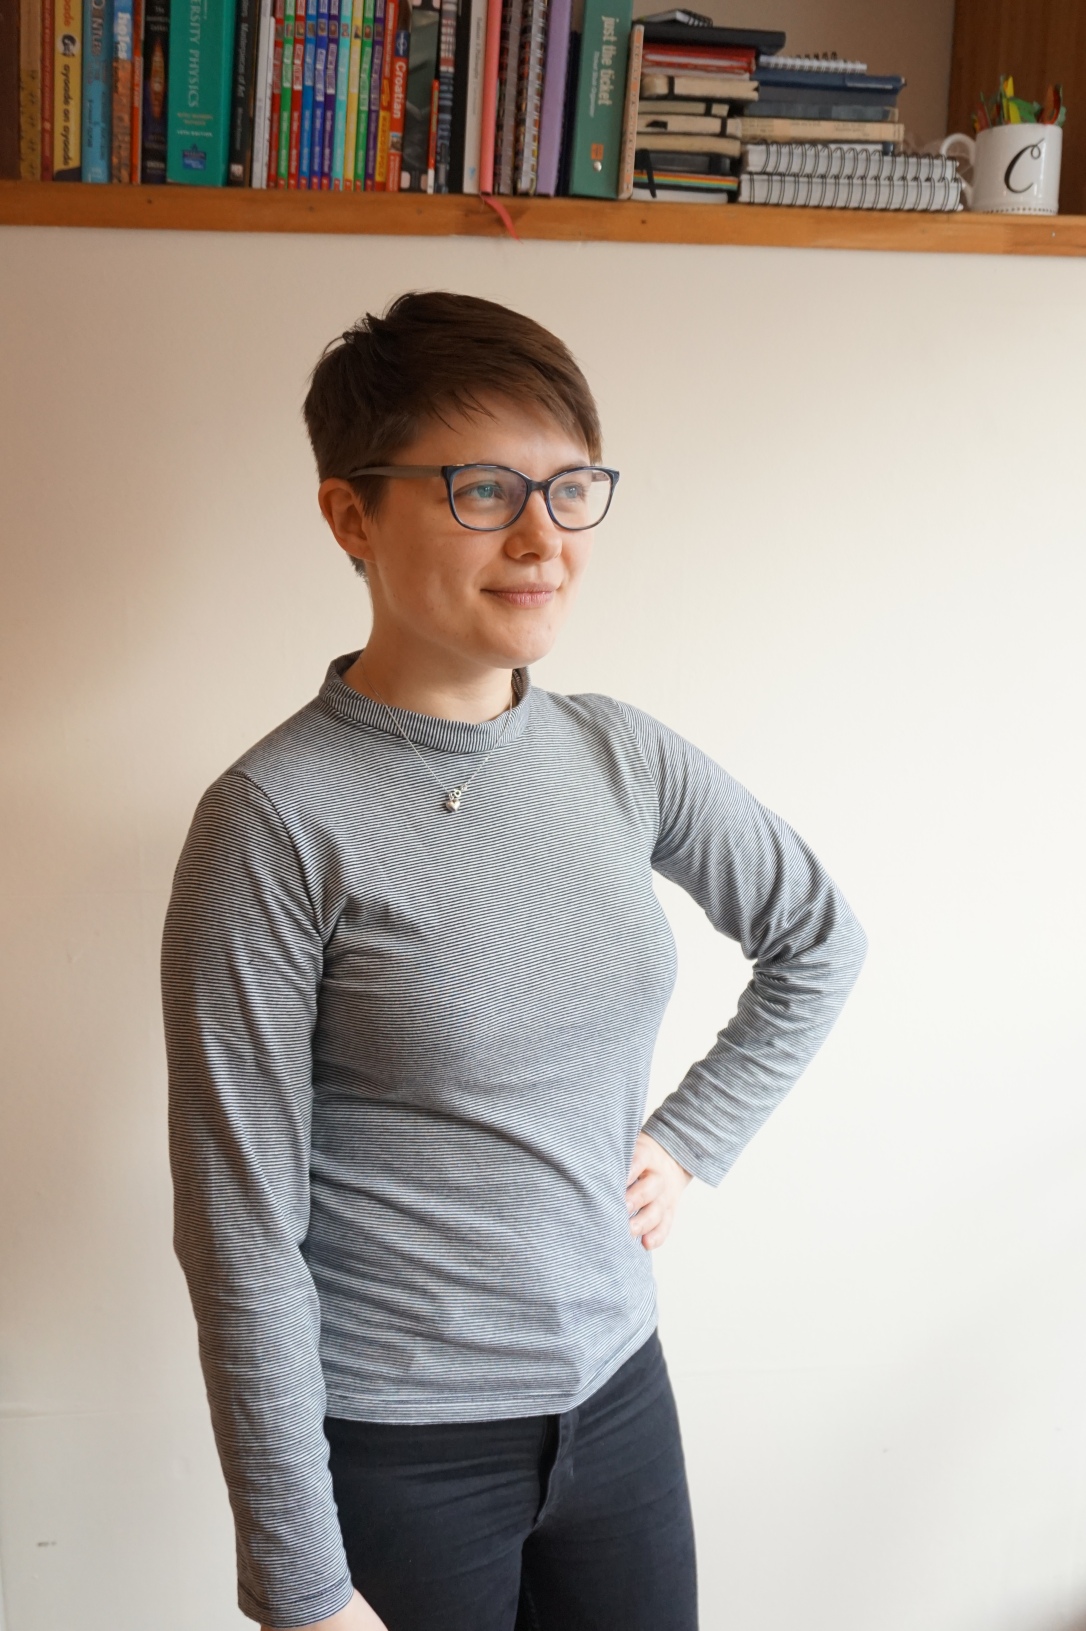
Since I used a top for this, I didn’t have to hem the sleeves or bottom as that was already done for me. Hooray! I am really keen on this look. It doesn’t come across in these photos enough, maybe because I’d had a busy day at work and a lot of food before taking them, but it’s a very chic top. I definitely want to make more, especially since it was so fast!

The stripes are…underneath the grey?
LikeLike